Celebrating 15 years family owned, OPERATING IN MAINE, USA
How to Hang Your ARTiPLAQ™
The front side of your ARTiPLAQ is sealed and the back side is not. It is best to keep your ARTiPLAQ in its wrapper and laying flat (or standing strait-not at a big angle), until you are ready to hang it.
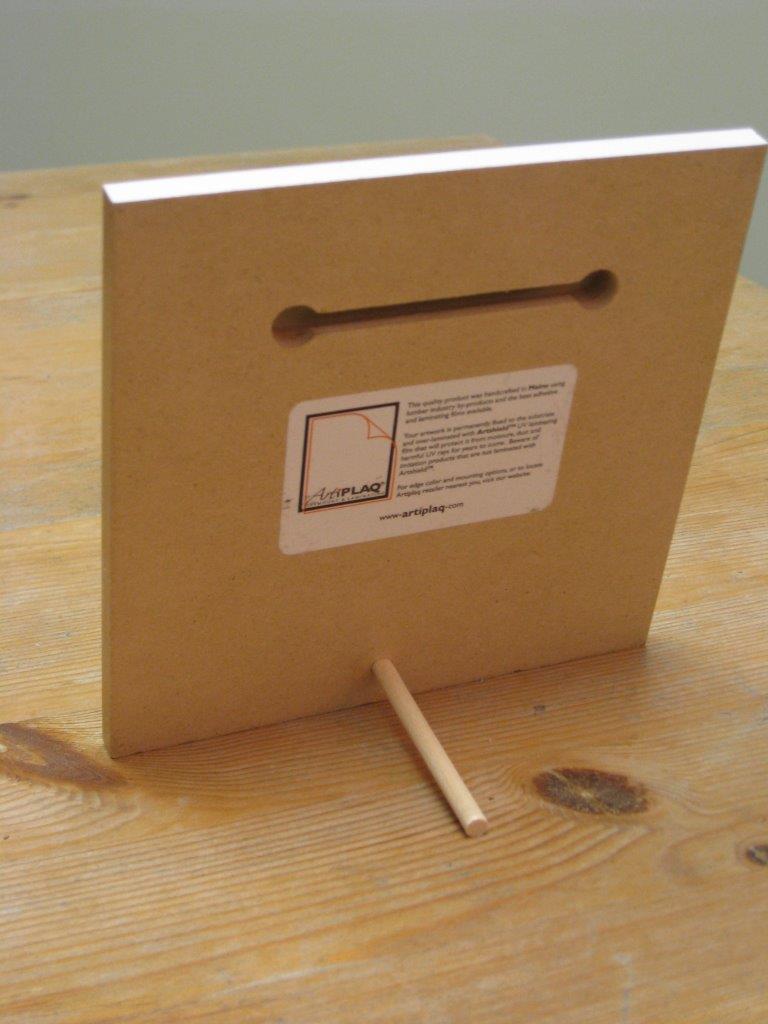
The plaq will hang, on one screw, from the center of the slot routed in the back of the plaq or float plaq. (Don't be confused that there's a hole on either end of the slot-- those holes give you an option to initially engage the head of one screw before you slide it into the center. The reason the plaq does permanently not hang from the holes at either end of the slot is because it would be loose and not secure.)
The slot, routed into the back of your plaq, is designed to accept ONE #8 Round-head screw.
For wide plaqs, we typically rout two slots, so you would need one screw for each slot. If your plaq has two separate slots on the back, you will also need a level and pencil to mark the wall BEFORE you drill. (Some people short cut and measure from the floor up and some measure from the ceiling down, but some people's floors or ceilings are not level, so it is best to use a real level and mark your spots before you drill, when you have a large plaq with two slots requiring 2 screws.)
The screw(s) should be set into studs, or the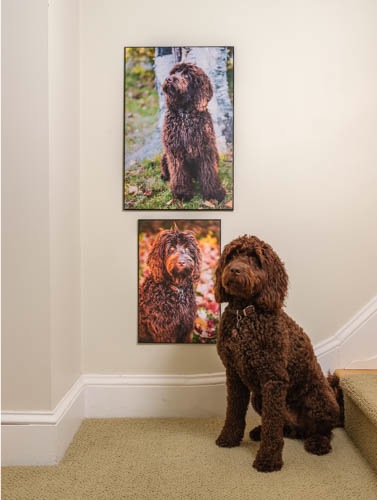 appropriate wall anchor, to a depth that will result in a small amount of friction between the wall and the plaq: the underside of the screw head approximately 1/8th of an inch from the wall. Some trial and adjustment may be necessary. The screw should not be so loose that you can see behind the plaq-- it is meant to lay flat on the wall. And it should not bee too tight, it should be able to slide on the routed slot. That is why we say some trial and adjustment may be necessary. The reason why it should lay flat is because the front side is sealed and the back side is not.
With your screw(s) properly anchored into the wall, rest the back of the plaq against the screw and slide the plaq up or down until you feel the screwhead engage into the slot. Keeping the screw head resting in the slot, slide the plaq left or right until you feel the screw drop into the hole at the end of the slot. Pressing the plaq against the wall, slide it to center of slot.
If the plaq has two slots, (and before you drill the holes be sure the two spots are level) engage one screw into one slot, then slide the plaq back past the other screw to engage the other screw, then reverse the direction to center the plaq on the pair. Congratulations in advance for a job well done!
ARTiPLAQ™ -mounted pet portraits courtesy of: MinorMomentsPhotography.com
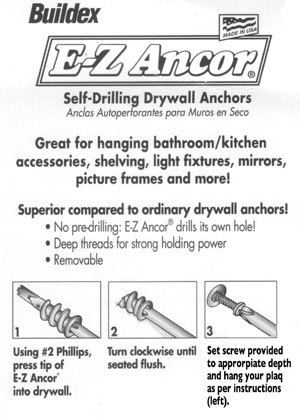
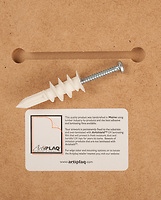
For setting your screw into drywall we recommend using a dry wall anchor (See diagram below). If the screw location is into a stud, no anchor is required. Other types of anchors are available for plaster, brick or cement walls. Ask your hardware store clerk.
Recommendations:
We do not recommend hanging ARTiPLAQ™ s by a wire because the backside is porous and absorbs moisture. Over time, hung by a wire, the plaque would bow. ARTiPLAQ™ s are meant to lay flat on the wall.
ARTiPLAQ™ s are intended for interior use only. The backside of the substrate is not sealed and is porous. Over time, water would seep in between the laminate and the edge color, ruin the paper print and destroy the wood substrate.
Regarding humid environments:
Our wooden substrate, like any piece of furniture, absorbs moisture, so a consistent temperature is recommended. (The backside is porous and the front side is sealed.) That being said, generally speaking, ARTiPLAQ™ s work well in humid bathrooms and kitchens because even though the room gets humid, it consistently dries out, and is not facing long periods of extreme temperature fluctuations.
Recommendation: When you close up your unheated summer cottage for winter, we recommend you remove your large nautical chart or ARTiPLAQ™ -mounted poster from the wall and lay it face down on a rug or smooth table. It will flatten out in the cold dry winter air and be ready for your return next summer.
Options for Displaying Small Plaqs:
We typically include a hole and peg for a table top display, for free. This easel-style works best with plaqs less than 8x10 inches. Remove the peg from the slot in the back and inset into the hole for a table top display.
Small plaqs will hang on the wall on a small finishing nail. You may want to put a small amount of double stick tape on the back of one corner to keepthe plaque in place.
- We accept:


ARTiPLAQ™ is a family-owned company in Maine providing
exceptional quality custom plaque mounting. Made in the USA.
© ARTiPLAQ™ Terms of Use Privacy Policy